8 Best Free Tools to Turn Long Videos Into Short Clips
- Last Updated: 22nd November, 2026
- 9 Min Read
- 4 Views


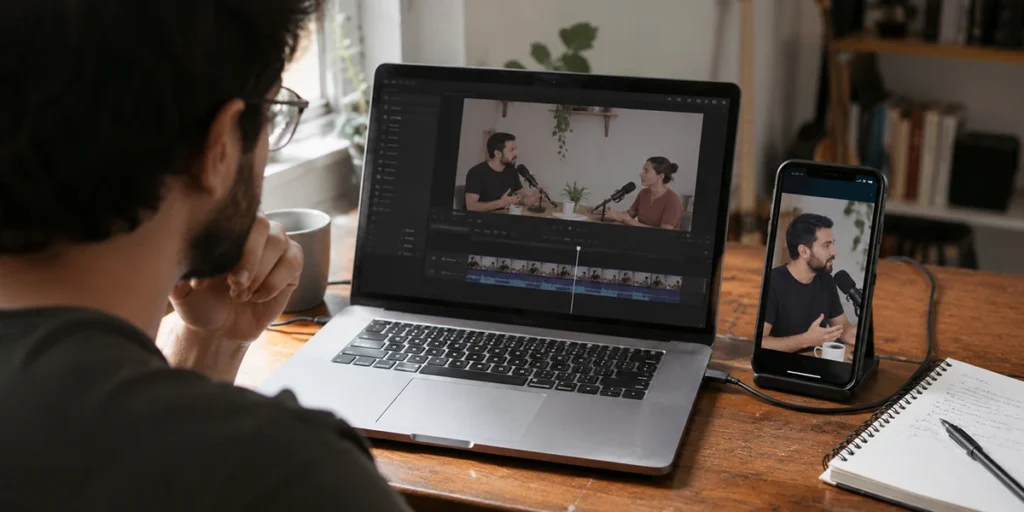
A 45-minute interview might contain a 30-second answer worth sharing. A long software tutorial might have a single screen recording that solves a common problem. The challenge is finding that moment, turning it into a clip that makes sense on its own, and downloading it in a format you can actually use.
A free AI clip maker can suggest highlights and handle tasks like reframing and captions. When you already know the timestamp, a timeline editor can save you a step and give you more control over the crop and final export. Start with OpusClip if you need help finding highlights, Vizard if you want to refine the AI’s suggestions, or Clipchamp if you want a watermark-free 1080p export and know what to cut.
This guide compares eight options for making YouTube Shorts, Instagram Reels, TikToks, and other short-form videos. The comparisons use official pricing and help documentation. Free-plan limits and regional availability can change, so check the plan shown in your account before processing a batch.
| Tool | Best for | Free plan or main limitation |
| OpusClip | Finding highlights in spoken content | 60 monthly credits, up to 1080p, watermarked exports, and a three-day export window. |
| Vizard | Refining AI-generated clips in the same editor | 60 monthly credits, 720p watermarked exports, and three-day project storage. |
| Adobe Express Clip Maker | Creating clips from English-language lessons and demos | Free Clip Maker, with source videos between 1 minute and 2 hours and up to 1 GB. |
| Clipchamp | Manual clipping with a clean download | Up to 1080p with no watermark on the free plan. You select the highlights yourself. |
| quso.ai | AI clipping with TikTok publishing | The listed free tier gives 75 monthly credits and 720p rendering where available. |
| YouTube’s Shorts editor | Turning your own public YouTube upload into a Short | Select up to 60 seconds in the mobile app and link viewers back to the original upload. |
| Kdenlive | Desktop editing with subtitle control | Free, open-source timeline editing and speech-to-text tools. You choose the highlights. |
| DaVinci Resolve | Precise edits, color correction, and audio work | Free desktop editor with vertical timelines. Format and feature support differ from the paid Studio version. |
OpusClip is a good starting point when you have a long conversation and no list of timestamps. It can suggest clips based on the spoken content, reframe them vertically, and add captions. The free plan includes 60 credits per month and renders clips at up to 1080p.
What to watch for: The free plan adds a watermark, excludes clip editing, and gives you three days to export. Review the suggestions promptly and keep a note of useful timestamps in the original video.
Try it with: A two-person interview where the guest answers several questions. If a suggested clip opens with “That’s why we changed it,” watch the preceding sentence. It may explain what changed and why the viewer should care. If the clip needs that lead-in, use the timestamp to make the final cut from your original recording.
Vizard is a better fit when you want AI to find candidate clips and still need an editor to make adjustments. Its free tier includes AI-generated clips, access to the video editor, animated subtitles, and 720p exports. That makes it useful for webinars and panel discussions where good answers sometimes have slow openings or caption errors.
What to watch for: The free plan provides 60 monthly credits, adds a watermark to exports, and keeps projects for three days. Vizard charges one credit per minute of source video processed for clipping or transcription. A 45-minute source therefore uses 45 credits, even if the only clip you keep runs for 30 seconds.
Try it with: A webinar with a 12-minute Q&A. If the Q&A is the only section you need, trim it from the original and upload that section first. You’ll spend 12 credits and can use the rest on other recordings.
Adobe Express Clip Maker generates short clips from a source video and lets you add captions and customise the result. It suits creators who want to turn a longer lesson, tutorial, or product review into a social post with a consistent look.
What to watch for: Adobe’s documentation lists English as the supported language for Clip Maker. The source must be between 1 minute and 2 hours and no larger than 1 GB. If you regularly publish in Gujarati, Hindi, or a mix of languages, check caption accuracy on a short sample in the tool you intend to use.
Try it with: A product review where you demonstrate the same feature under two conditions. Keep both shots in the final edit so viewers can see the outcome for themselves. A clip that contains only your verdict loses the visual evidence that made the review useful.
Clipchamp is a practical choice when the edit starts with a timestamp. Microsoft’s free plan includes trimming, cropping, resizing, autocaptions, and watermark-free exports up to 1080p. You select the portion you want and control which parts of the original frame remain visible.
What to watch for: A vertical crop has less horizontal room. If your clip contains a screen recording, the part that matters might sit at the edge of the original frame. Preview it at phone size and reposition the footage around the active area.
Try it with: A software tutorial where the viewer needs to find a specific setting. Keep the menu name visible when it opens, then show the result of changing the setting. If a tight crop hides useful context, place the landscape recording inside the taller canvas and use the remaining space for captions.
quso.ai can identify moments in a longer recording, reframe them, and add captions. Its listed free plan includes 75 credits per month, 720p rendering, and TikTok publishing. It’s worth comparing if making and publishing short clips in one place fits your workflow.
What to watch for: The company says that the free plan is available in some countries and that users in others buy one-time credit packs. The listed free tier also retains data for seven days. Check the terms shown for your account and save any clips you plan to use later.
Try it with: A recorded Q&A where each useful answer can stand alone. Process one recording first. If you plan to reuse the clips on other platforms, check the downloaded file for branding, resolution, and caption placement before you process the rest.
If your long video is already public on your channel, you can make a Short from it directly in the YouTube mobile app. Open the video, tap Remix, choose Edit into a Short, and select up to 60 seconds. The resulting Short links to your original upload, giving interested viewers a direct way to find the full video.
What to watch for: You choose the exact segment yourself. This workflow is designed around publishing to YouTube. For a master file you can prepare once and use across multiple platforms, edit from your source footage in a tool such as Clipchamp or Kdenlive.
Try it with: A tutorial that covers five spreadsheet shortcuts. Demonstrate one shortcut in the Short and show the result. The viewer gets a usable tip, and the linked original offers four more.
Kdenlive is a free, open-source editor with a timeline, subtitle editing, and speech-to-text support. It makes sense when you want to work from files on your computer and need more control over text, framing, and timing than a basic trimmer provides.
What to watch for: You’ll spend time setting up the project and choosing the clip boundaries yourself. That extra control pays off when you make clips regularly or need to check captions line by line.
Try it with: A training video containing technical terms that automatic captions frequently mishear. Keep the speaker on screen while they introduce the problem, then cut to the demonstration. Fix the spelling of product names and adjust subtitle breaks so viewers can read them without looking away from the action for too long.
DaVinci Resolve’s free version combines timeline editing, color controls, and audio tools. It supports vertical timelines, so you can make a portrait edit from longer footage and adjust the framing shot by shot. Blackmagic lists support for most 8-bit video formats at up to 60 fps and Ultra HD in the free version. Check support for your source format if you record with less common camera settings.
What to watch for: The interface takes more time to learn than a browser trimmer. It’s easier to justify that time when the clip comes from multiple cameras or when color and audio differences carry over from the original footage.
Try it with: An interview where the host and guest have separate camera angles and uneven microphone levels. Cut between speakers when it helps the viewer follow the exchange, match the audio levels, and watch the transitions in the vertical preview. For a single straightforward cut, Clipchamp is usually the simpler choice.
| Step | What to do |
| Find the moment | If you have the timestamp, open the original in Clipchamp or Kdenlive. If you need suggestions, try OpusClip or Vizard. |
| Keep the setup | Start just before the presenter identifies the lighting problem. |
| Show the result | Keep both before-and-after shots on screen long enough for viewers to see the difference. |
| Check the crop | If a tight vertical crop hides one of the photos, fit the full comparison inside the vertical canvas. |
| Export and review | Play the exported clip on your phone with sound on and off. Make sure the change in lighting is clear either way. |
If the same webinar includes useful advice about backgrounds and phone camera settings, those can become separate clips. Each can answer a different question without repeating the same demonstration.
Choose the tool based on the part of the job that takes you the most time. If you spend an hour finding moments in an interview, start with OpusClip or Vizard. If you already know what to cut and want a reusable file without a watermark, Clipchamp is the simplest place to start. For a more involved edit with multiple shots, careful subtitles, or uneven audio, Kdenlive and DaVinci Resolve give you more control.
Finish one clip before you process an entire backlog. A complete test export tells you whether the captions are readable, whether the vertical crop preserves the important details, and how much work each clip will take.
Related reading · Best AI Photo Editor Apps for iPhone and Android
[ 1 votes, Avg: 5 ]